Ice Cream Recipe: How to Make Ice Cream at Home in Singapore | Creamy Recipes & Tips
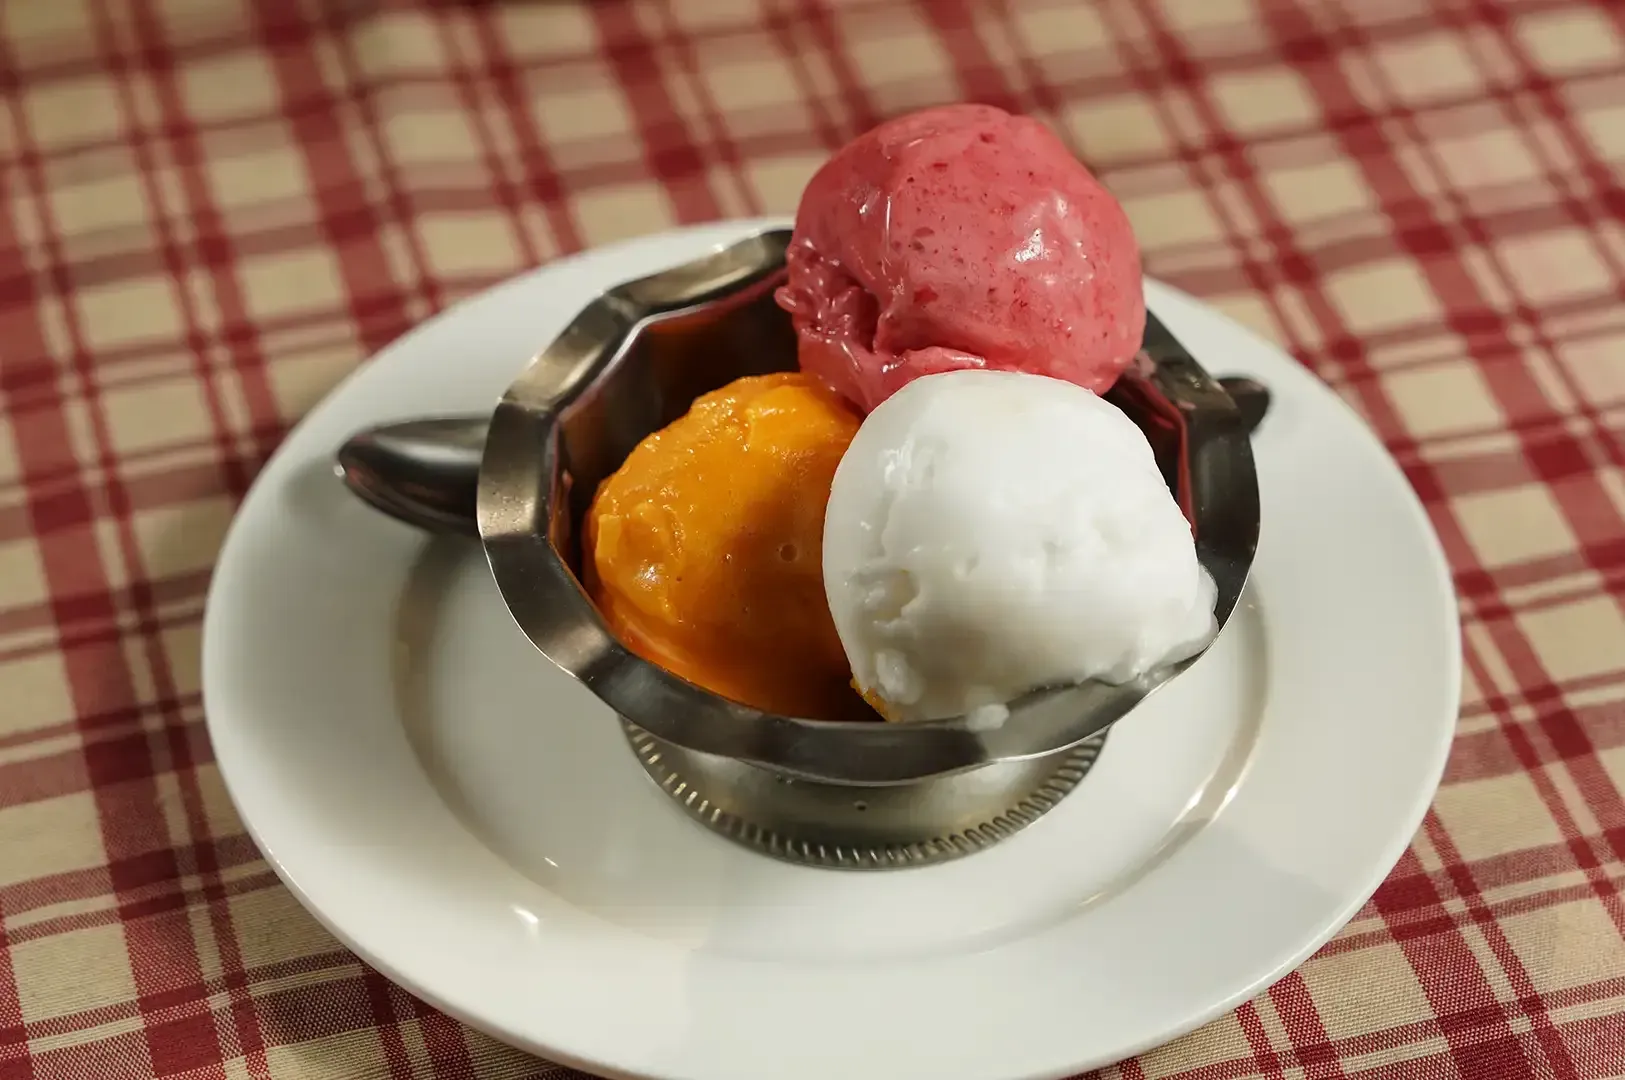
Quick answer: Making homemade ice cream at home in Singapore is completely achievable — with or without an ice cream maker or ice cream machine. The no-churn method (whipped cream + sweetened condensed milk) takes about 15 minutes of active prep and 6 hours of freezing. The custard method yields a richer, silkier ice cream base and texture. Key challenges in Singapore include managing humidity, ambient heat, and compact freezer space, all of which are addressed in this ice cream recipe guide.
The first time I made homemade ice cream at home in Singapore, I used a cake tin, a hand held mixer, and half a can of sweetened condensed milk I'd been saving for no particular reason. Forty-five minutes of prep, one overnight freeze, and the result was genuinely good — creamy, clean, with none of that artificial aftertaste you sometimes get from store-bought tubs.
That experiment became something of a habit. Then an obsession. Now I keep at least two flavours in rotation at any given time, which my friends consider either impressive or alarming depending on who you ask.
Do You Need an Ice Cream Maker or Ice Cream Machine to Make Ice Cream at Home?
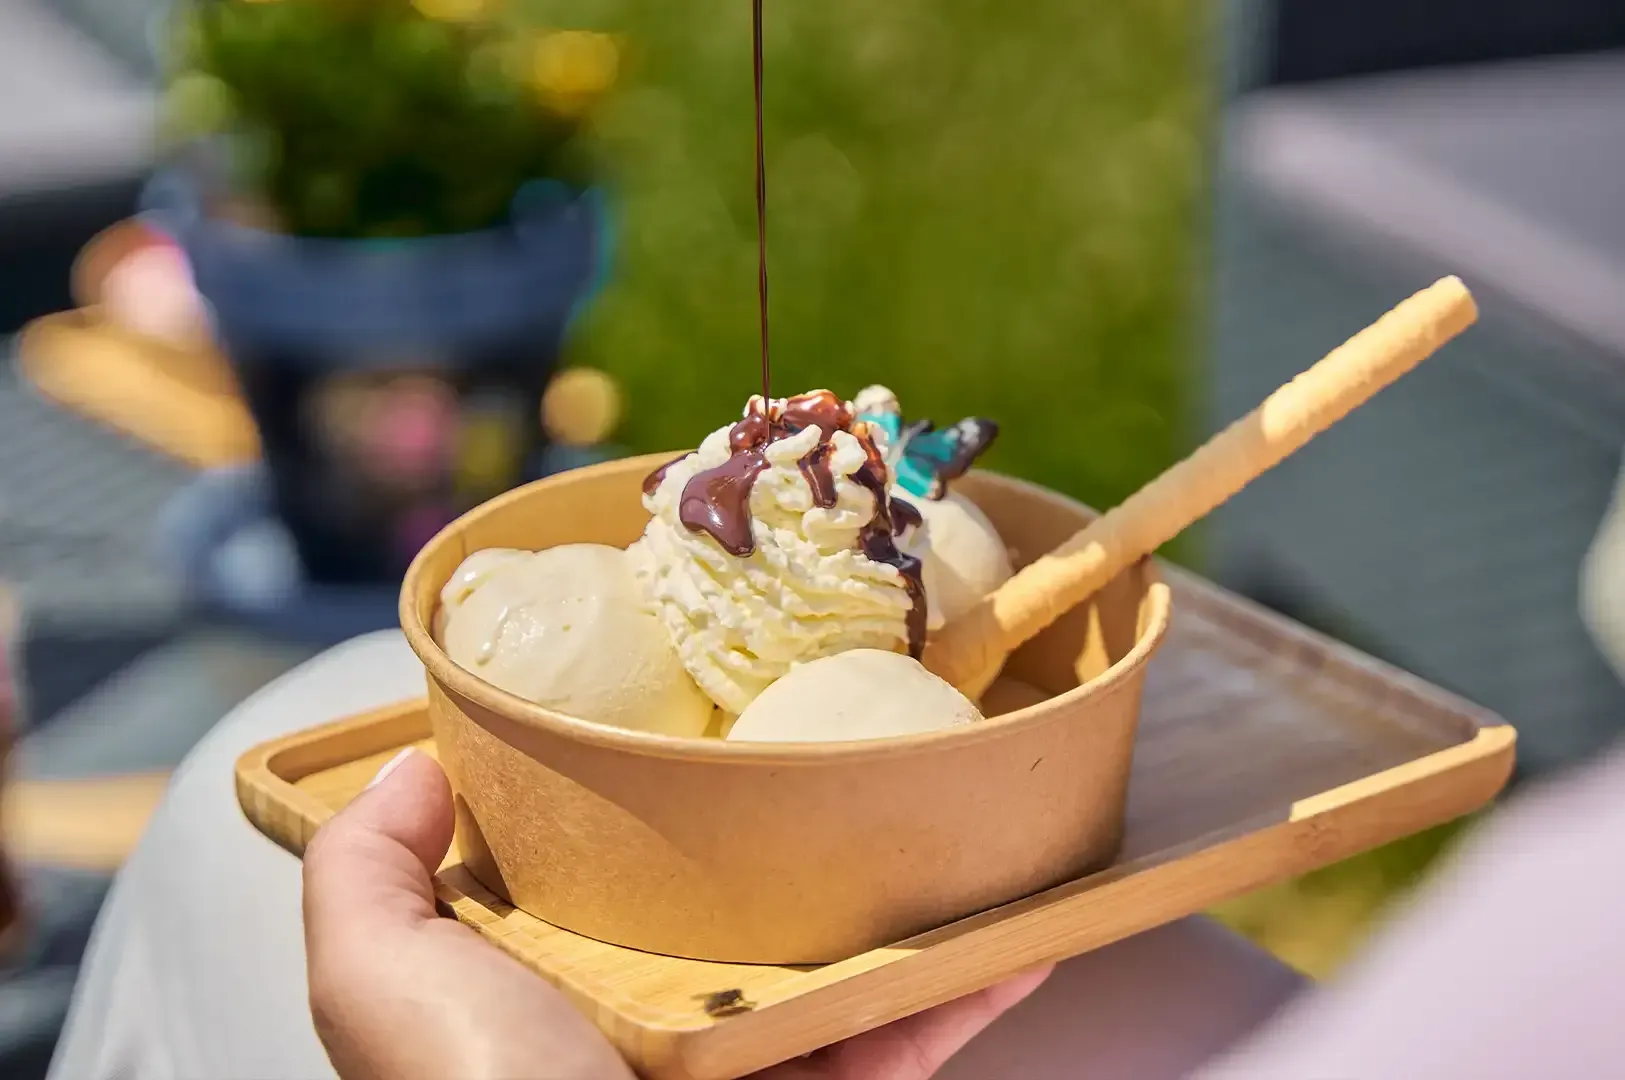
Short answer: no. An ice cream maker helps, but it's not essential.
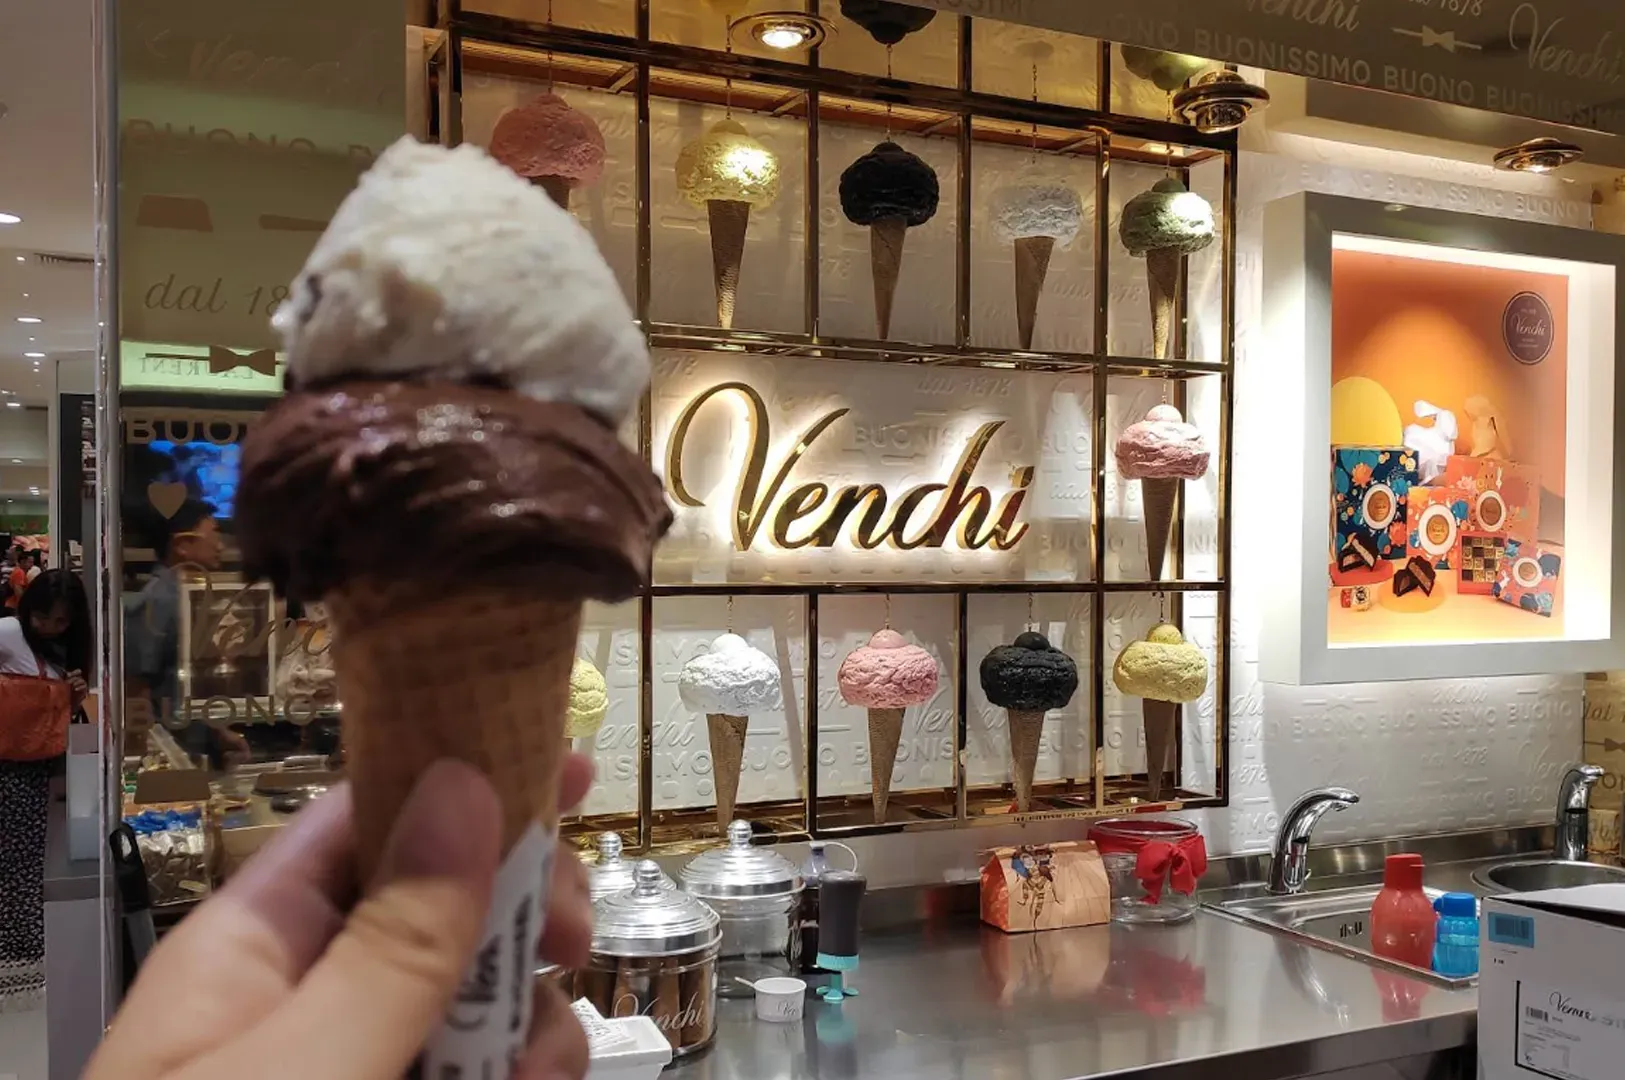
Ice cream machines churn the ice cream mixture as it freezes, which breaks up ice crystals and produces that ultra-smooth, scoopable texture you get from good gelato shops. If you've ever browsed the best sweet spots around Orchard Plaza's vibrant dessert scene and wondered how they achieve that silky finish, churning is a big part of the answer.
That said, the no-churn method — which relies on whipped cream for airiness and condensed milk for sweetness and body — comes remarkably close. The texture is slightly denser, and you won't get the same perfectly clean scoop, but the flavour can be just as yummy. For home use in Singapore, where counter space and budget are often limited, starting no-churn makes complete sense.
If you do want an ice cream maker, entry-level compressor-free models (like those from Cuisinart or Kenwood) start around S$80–$120 and work well for home batches. Compressor machines, which don't require pre-freezing a bowl, start closer to S$300 but are far more convenient for frequent use.
Homemade Ice Cream Recipe: The No-Churn Method
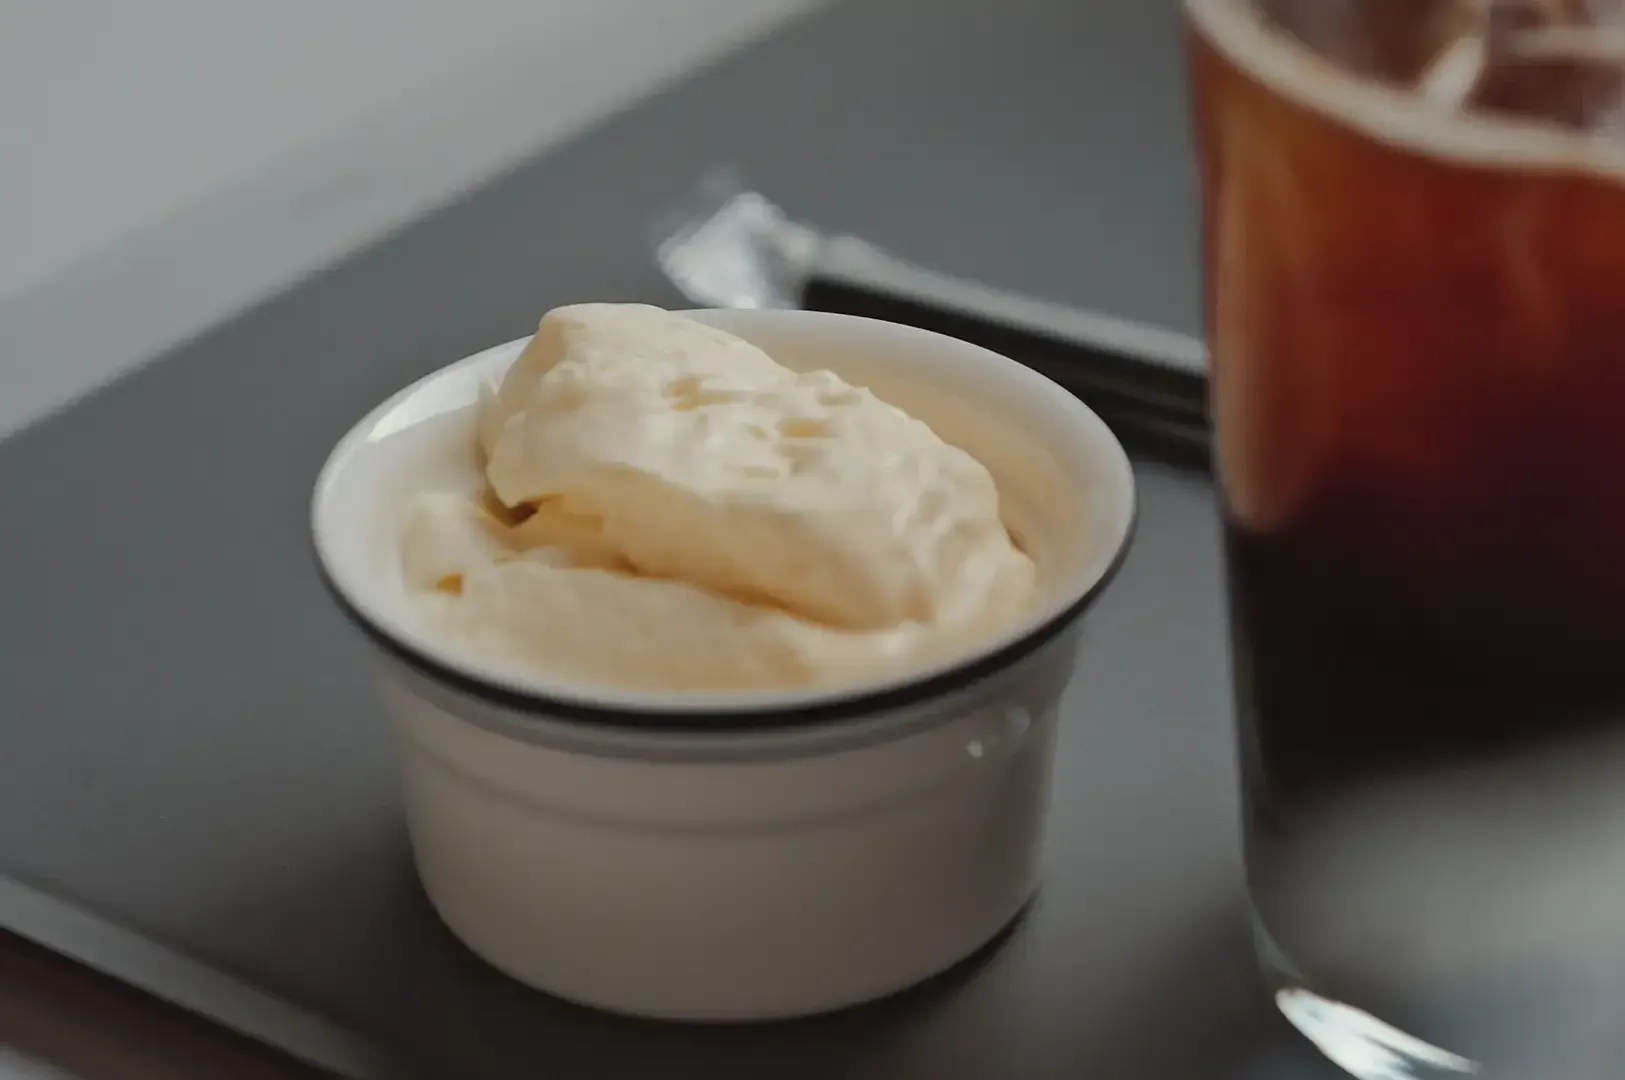
This is where most people should start if you want a homemade vanilla ice cream recipe built from 5 basic ingredients. It requires no special equipment beyond a hand mixer or stand mixer, and the results are consistently delicious.
What you'll need:
- 300ml full-fat heavy cream (35% fat or above — Bulla or President both work well here)
- 1 can (395g) sweetened condensed milk or condensed milk
- 1 tsp pure vanilla extract or vanilla bean paste
- Pinch of salt
Equipment:
- Large bowl or large mixing bowl (chilled in the freezer for 10 minutes beforehand)
- Hand held mixer or stand mixer
- Loaf tin or freezer-safe airtight container with a lid
- Plastic wrap
Step-by-step instructions:
Step 1: Chill everything first. Place your large bowl and whisk attachments in the freezer for 10 minutes. In Singapore's heat, cream whips much better cold. This single trick makes a noticeable difference in volume and stability.
Step 2: Whip the cream. Pour the cold heavy cream into your chilled large bowl and whip on medium-high speed until stiff peaks form — about 3 to 4 minutes. The cream should hold its shape when you lift the beaters.
Step 3: Fold in the condensed milk. Pour in the condensed milk, vanilla extract or vanilla bean paste, and salt. Use a spatula to fold gently rather than stir — you want to keep as much air in the ice cream mixture as possible. A few streaks are fine.
Step 4: Transfer and cover. Pour the mixture into your container. Press a sheet of plastic wrap directly onto the surface of the ice cream (this prevents ice crystals from forming on top). Seal with a lid.
Step 5: Freeze the no-churn ice cream for at least 6 hours to set. Overnight is better. Don't rush this part — under-frozen no-churn ice cream is soft and melts almost immediately on contact, which is a real problem when you're scooping in a 30°C kitchen.
Step 6: Scoop and serve quickly. Remove from the freezer, let it sit on the table for 2–3 minutes, then scoop. Work fast.
Once the ice cream base is made, you can fold in 2 to 2.5 cups of mix-ins such as chocolate chips, nuts, or chunks of chocolate or other treats for different flavours.
Approximate yield: 6–8 scoops Active prep time: 15 minutes Total time (including freeze): 7–8 hours Estimated cost: S$8–12 for a full batch
Homemade Vanilla Ice Cream Recipe: The Custard / Ice Cream Maker Method
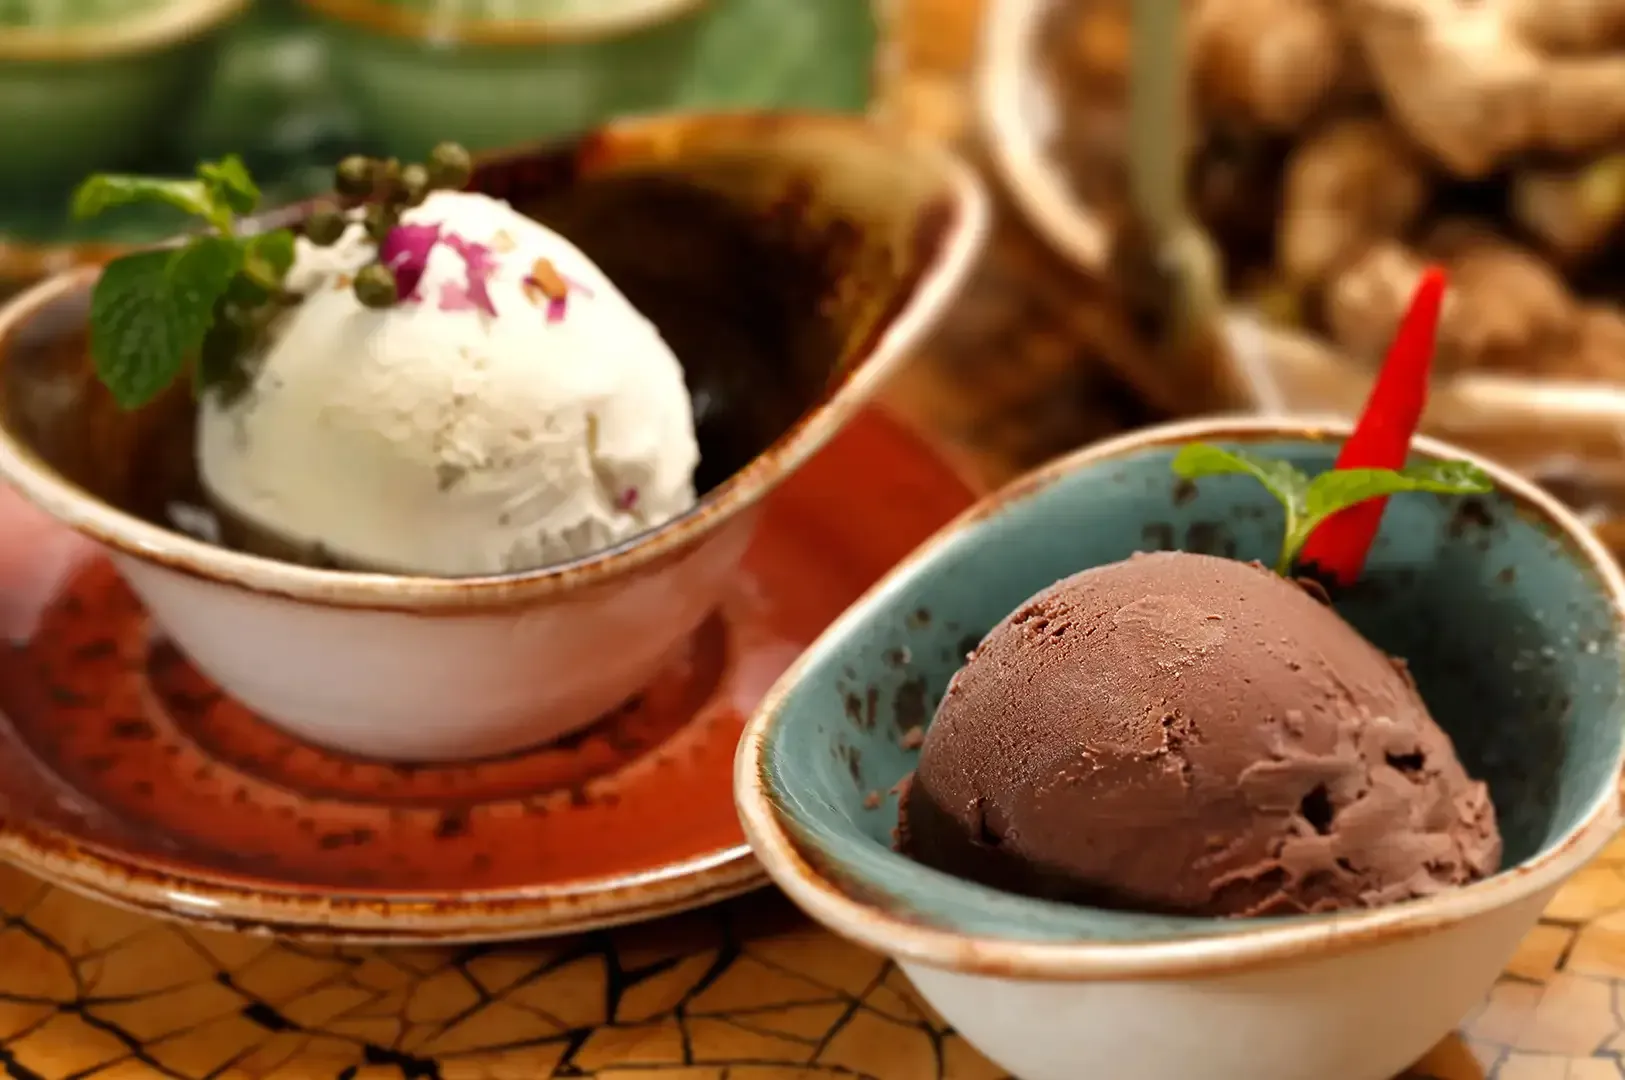
This homemade ice cream recipe takes more time and technique, but it produces a noticeably silkier, more complex texture. Custard-style ice cream uses egg yolks to create its smooth texture, and the custard base (also called a crème anglaise) gives the ice cream a richness that no-churn simply can't replicate. Philadelphia-style ice cream contains no eggs, so it's simpler to prepare.
What you'll need:
- 300ml full-fat milk
- 200ml heavy cream
- 4 egg yolks
- 100g sugar (caster sugar)
- 1 vanilla bean (or 1.5 tsp vanilla extract or vanilla bean paste)
- Pinch of salt
Equipment:
- Heavy-bottomed saucepan
- Heatproof mixing bowl or large bowl
- Fine mesh strainer
- Ice cream maker or ice cream machine (or see no-churn adaptation below)
- Thermometer (helpful but not essential)
Step-by-step instructions:
Step 1: Infuse the cream. Combine milk, cream, and the scraped vanilla bean (pod and seeds) in a saucepan over medium heat. If you're not using a whole vanilla bean, add a splash of vanilla extract or vanilla bean paste instead. Heat until just steaming — do not boil. Remove from heat and let it steep for 15 minutes to infuse the vanilla flavour.
Step 2: Whisk the egg yolks and sugar. In a separate bowl, whisk together the egg yolks and sugar until the mixture is pale and slightly thickened. This takes about 2 minutes by hand.
Step 3: Temper the eggs. This is the step most people rush — and it's where scrambled eggs happen. Pour the warm cream mixture very slowly into the egg mixture, whisking constantly. Start with just a thin stream to bring the eggs up to temperature gradually.
Step 4: Cook the custard. Return the combined ice cream mixture to the saucepan and cook over low-medium heat, stirring constantly with a wooden spoon or heatproof spatula. The custard is ready when it coats the back of a spoon and holds a clean line when you run your finger across it. This usually happens around 80–82°C. Do not let it boil.
Step 5: Strain and cool. Immediately pour the custard through a fine mesh strainer into a clean large bowl. This removes any bits of cooked egg or vanilla pod. Place the bowl over an ice bath and stir until the custard reaches room temperature, then refrigerate the ice cream base for at least 2 hours — or overnight — as chilling improves texture before churning or freezing.
Step 6: Churn. Pour the cold custard into your ice cream machine or ice cream maker and churn according to the manufacturer's instructions. Most machines take 20–30 minutes to reach a soft-serve consistency.
Step 7: Freeze for 2–3 hours. Transfer to an airtight container, press plastic wrap onto the surface, and freeze until firm.
Approximate yield: 6–8 scoops Active prep time: 45 minutes Total time (including chill and freeze): 5–8 hours Estimated cost: S$10–15 for a full batch
What Are the Most Common Homemade Ice Cream Mistakes to Avoid?
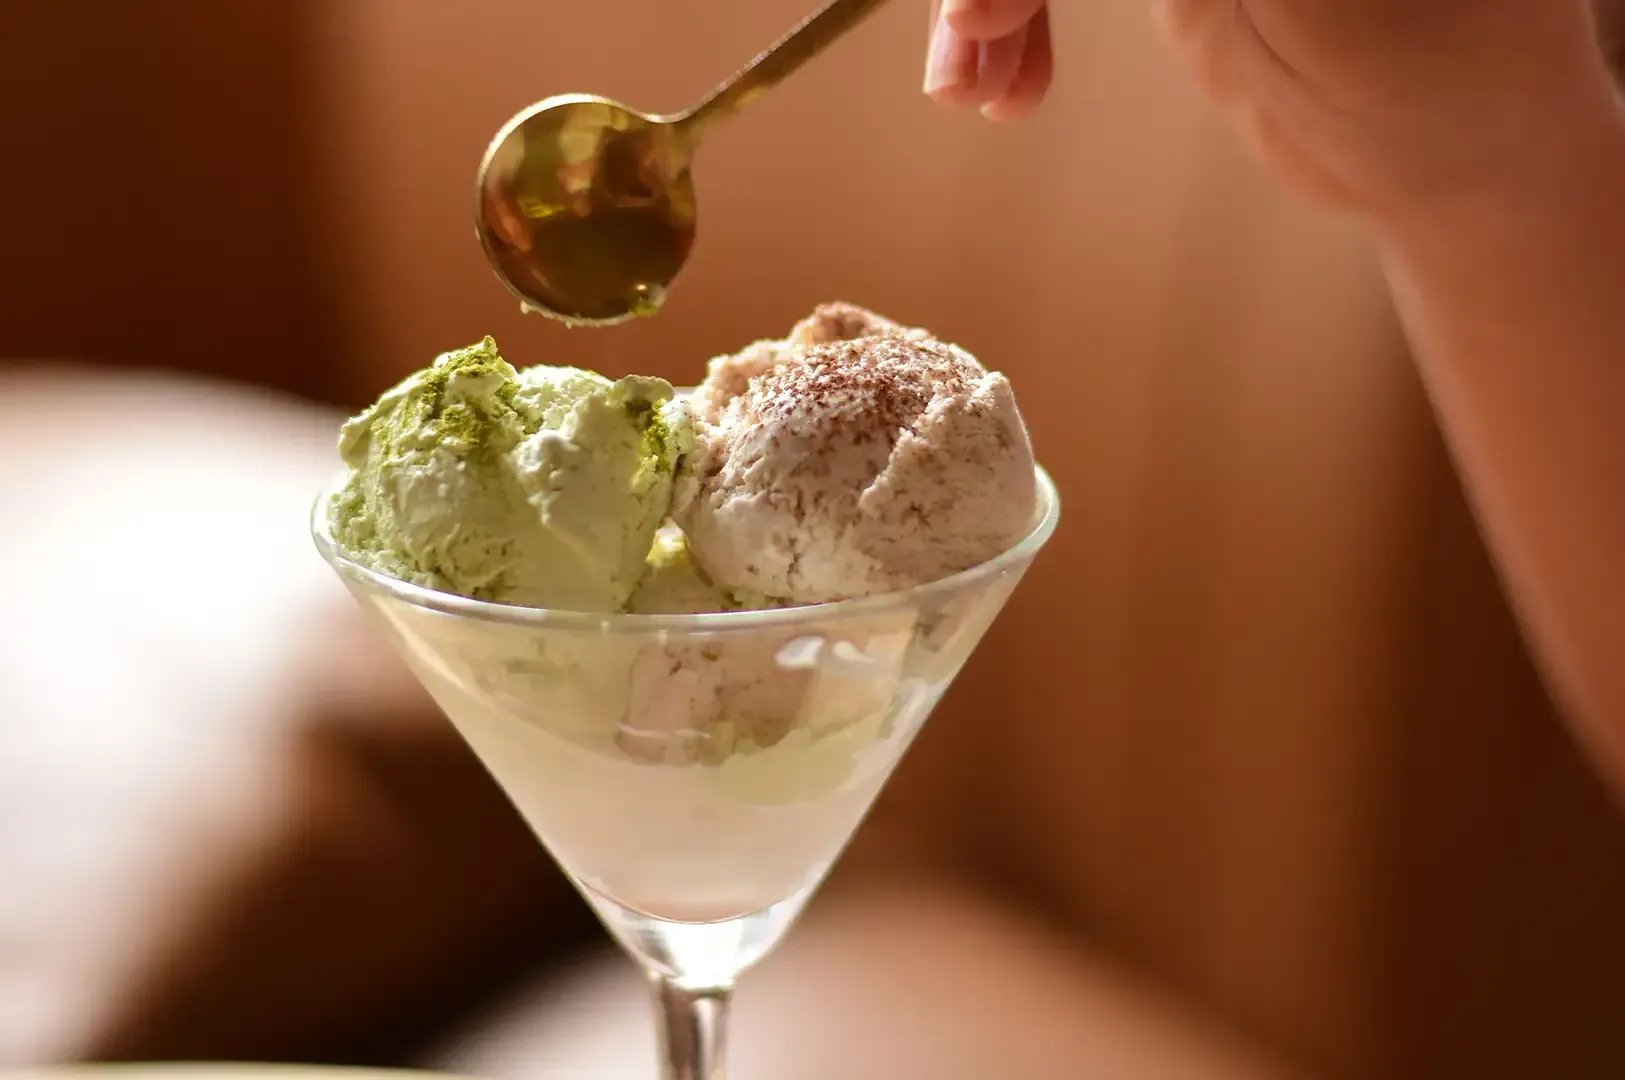
Not chilling your ice cream base before churning or freezing
Pouring a warm custard or room-temperature ice cream mixture into the freezer directly produces large ice crystals and a grainy texture, so always chill the ice cream base thoroughly first — at least 2 hours in the fridge, or 30 minutes over an ice bath — to improve texture during churning or freezing.
Opening the freezer too often
Every time the freezer door opens, the temperature inside fluctuates. In Singapore, where ambient heat is already working against you, this is especially damaging during the critical first few hours of freezing. Once it's in, leave it alone.
Using low-fat cream instead of heavy cream
Already mentioned above, but worth repeating: fat is what gives ice cream its creamy, scoopable texture. Heavy cream gives ice cream its richness and smooth mouthfeel, while low-fat cream won't whip properly and produces an icy result.
Forgetting the plastic wrap
The surface of ice cream left exposed in the freezer develops a thick layer of ice crystals — the one that looks dusty and white. Press plastic wrap directly onto the surface, eliminating all air contact.
Over-sweetening tropical fruit bases or chocolate ice cream
Ripe mango, lychee, and durian all bring significant natural sugar. Balance is key — taste as you go and reduce the sweetened condensed milk if your fruit is particularly sweet. The same base also works for classic flavors like chocolate ice cream made with cocoa powder and dark chocolate, or strawberry ice cream, but adjust sweetness to match your add-ins.
Recipe Notes: Equipment and Timing for Homemade Ice Cream
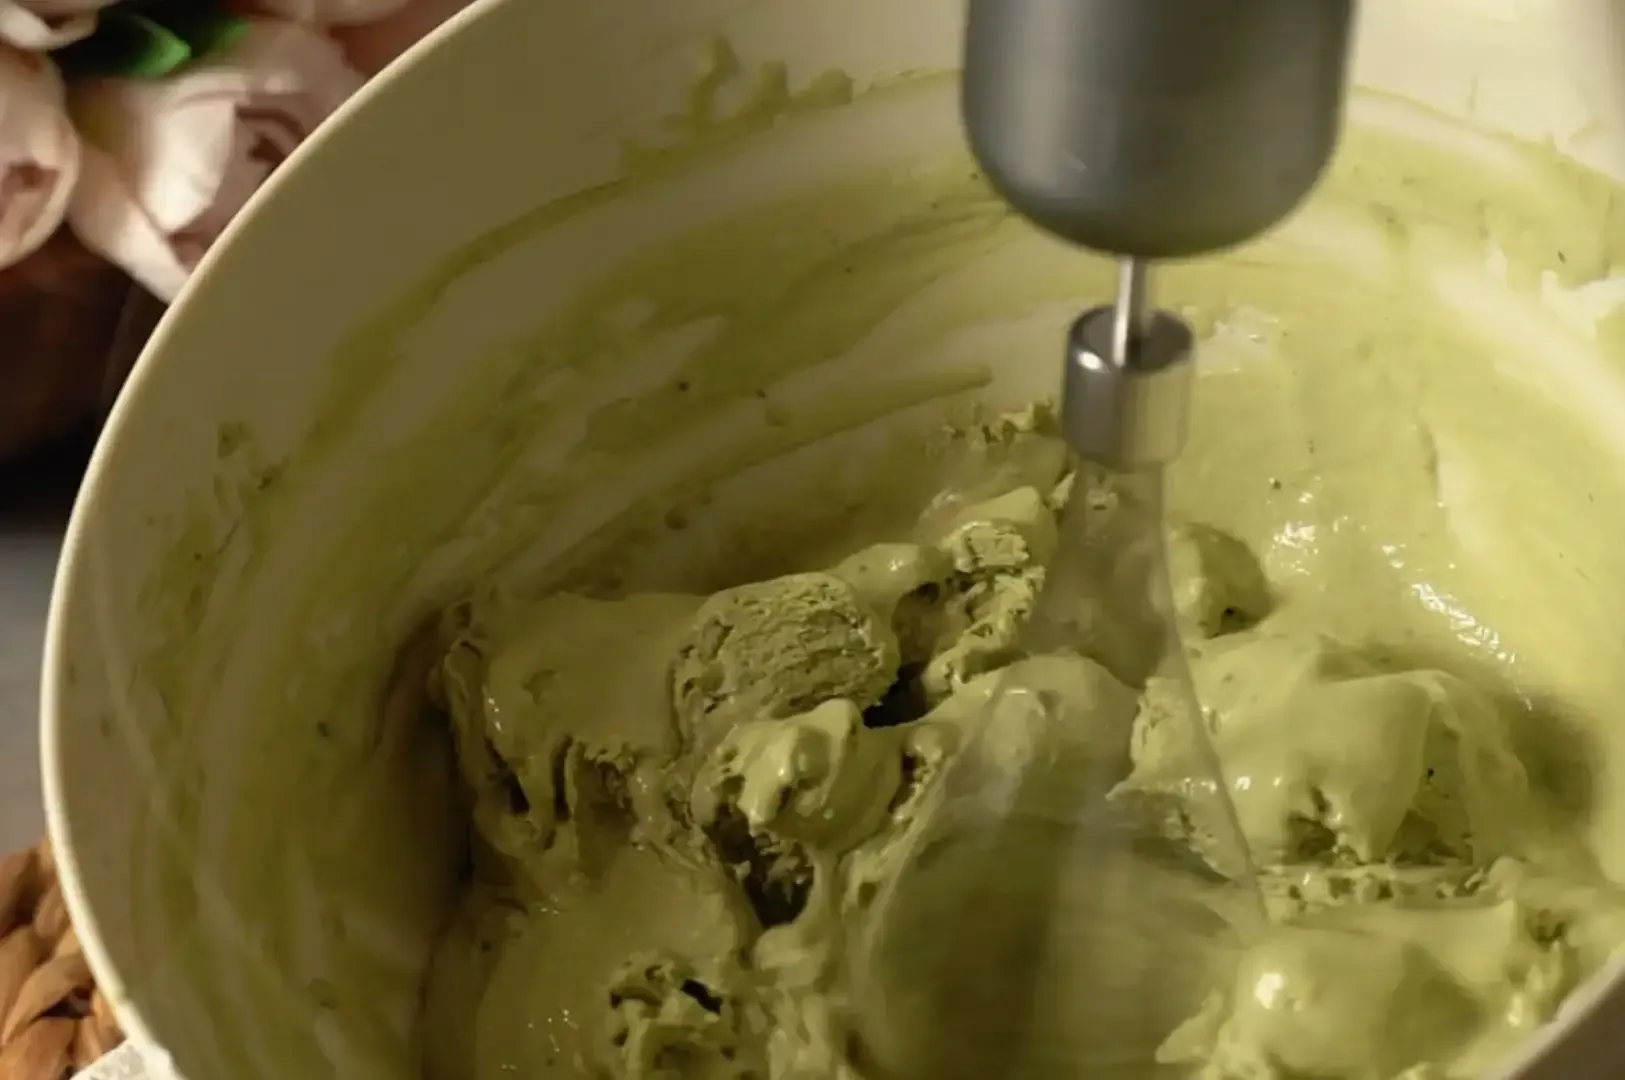
Equipment
You don't need much. A hand held mixer or stand mixer, or even a blender for some fruit-based no-churn variations, is the single most useful tool for no-churn ice cream. A good loaf tin (the standard 23x13cm size) holds one full batch comfortably. If you're making flavoured ice creams regularly, a second container is worth having so you can keep two flavours frozen at once.
Timing breakdown
| Method | Active Prep | Chill/Freeze Time | Total Time |
|---|---|---|---|
| No-churn | 15 minutes | 6–8 hours | ~7–8 hours |
| Custard (with machine) | 45 minutes | 5–6 hours | ~6–7 hours |
| Custard (without machine) | 45 min + hourly stirring | 4–5 hours | ~6–7 hours |
Your First Scoop of Homemade Ice Cream Is Closer Than You Think
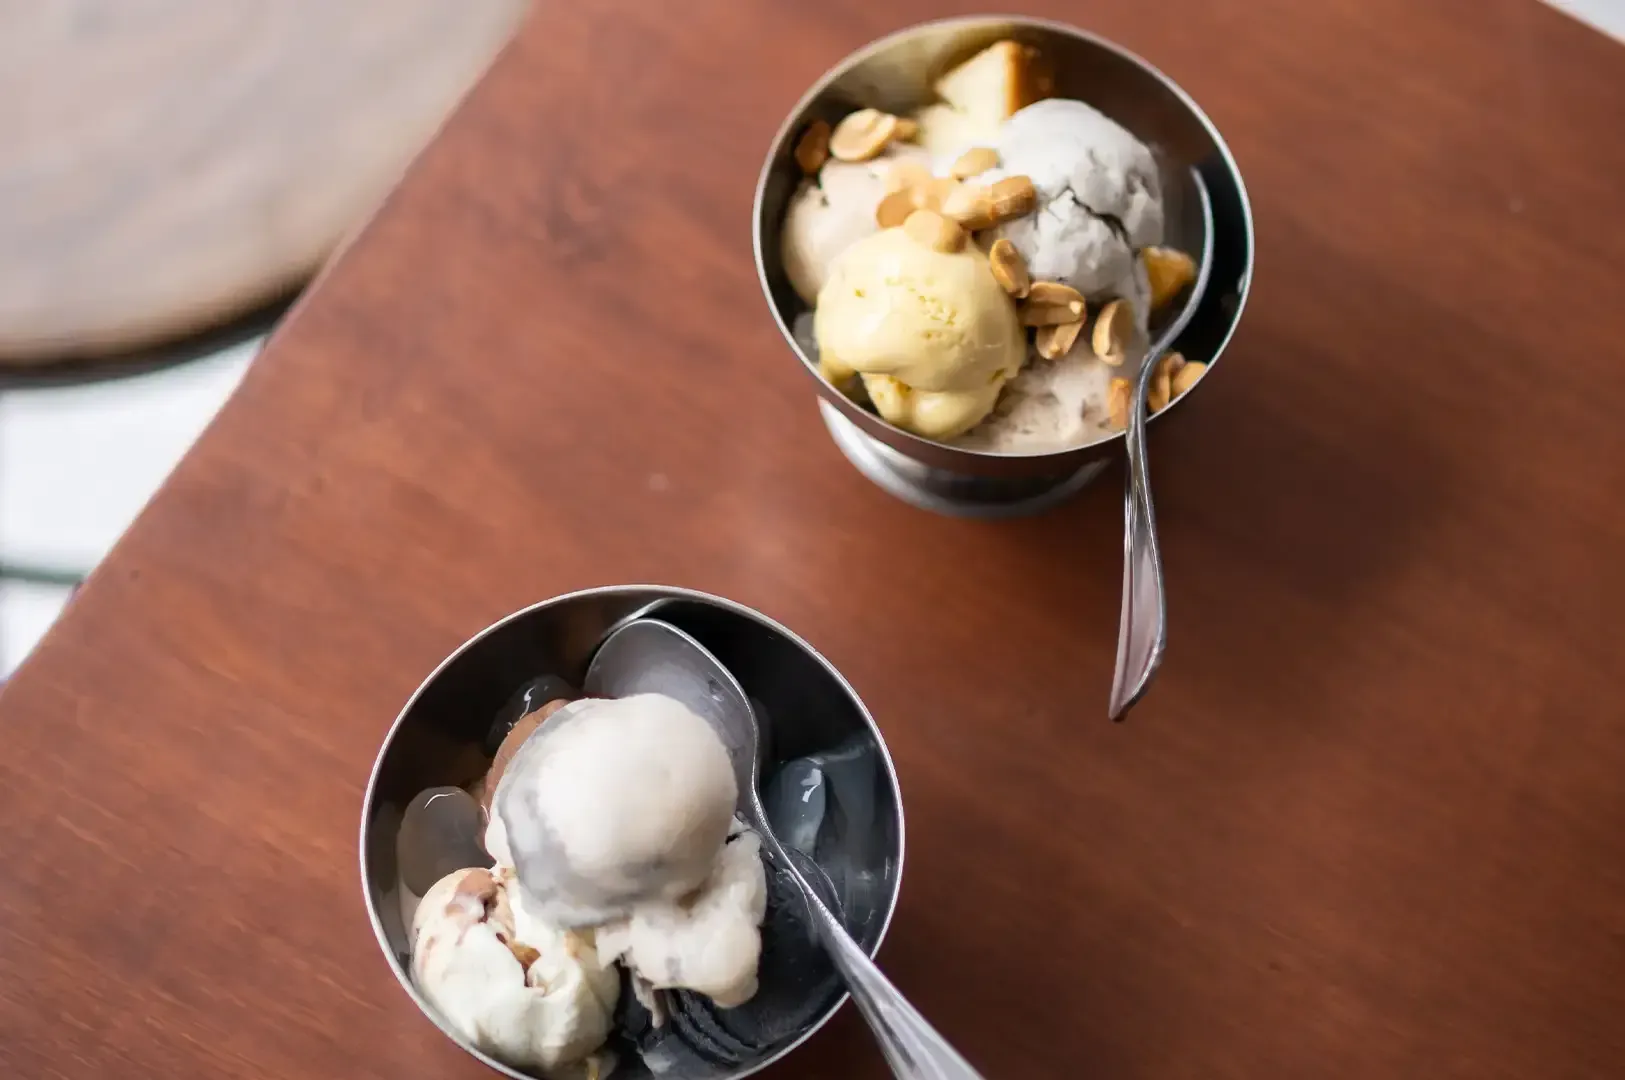
Making ice cream at home in Singapore is one of those things that sounds more complicated than it actually is. The no-churn method takes less time than a trip to the supermarket. The custard method rewards the extra effort with a texture that rivals what you'd pay S$8–12 a scoop for at a dessert bar.
Start with vanilla ice cream. Get the technique right. Then move to mango, lychee, strawberry ice cream, or chocolate ice cream — even a refreshing gula melaka swirl you've been thinking about since the second section of this guide — and, if you like extra texture, add chocolate chips or chunks of other treats for a delicious finish. Once you've nailed the ice cream base, the flavour possibilities are genuinely endless — and there's something particularly satisfying about pulling a container out of your own freezer and knowing exactly what went into it.
If you love discovering great dessert spots around Singapore as much as you enjoy making them at home, have a look at my pet-friendly café guide — a roundup of places where both you and your furry companion can enjoy something sweet together.
Now go chill your large bowl and get started.
Recent Posts